

While the need for network cabling is clear, the significance of professional installation services cannot be emphasized enough. Expertise, precision, and adherence to industry standards are vital for ensuring the reliability and performance of your network infrastructure. Professional installers bring years of experience and the latest knowledge to the table, making them invaluable for complex projects.
In this post, you can expect to embark on a comprehensive journey through the world of network cabling installation. We will cover everything from understanding network cable types and components to planning your installation, whether you choose to go the professional route or explore DIY options. You will also gain insights into the steps involved in cable routing, termination, and management, along with essential troubleshooting and maintenance tips.
Planning Your Network Cabling Installation
Planning is a crucial phase in any network cabling installation project. It sets the stage for a successful implementation and ensures that your network meets your requirements efficiently. In this section, we will delve into the key steps involved in planning your network cabling installation:
Assessing Your Needs
- Determining Network Requirements:
- The first step in planning your network cabling installation is to identify your network requirements. Consider the following factors:
- Data Speed: Determine the required data speed for your network. Are you dealing with standard data transfer, or do you need higher speeds for multimedia applications or large-scale data transfers?
- Number of Devices: Calculate the number of devices that will be connected to the network, both now and in the future. This helps you determine the number of ports and cables needed.
- Location of Endpoints: Identify the locations where devices will connect to the network, such as workstations, servers, routers, and switches.
- Scalability: Plan for future growth. Your network should be able to accommodate additional devices and increased data traffic as your organization expands.
- The first step in planning your network cabling installation is to identify your network requirements. Consider the following factors:
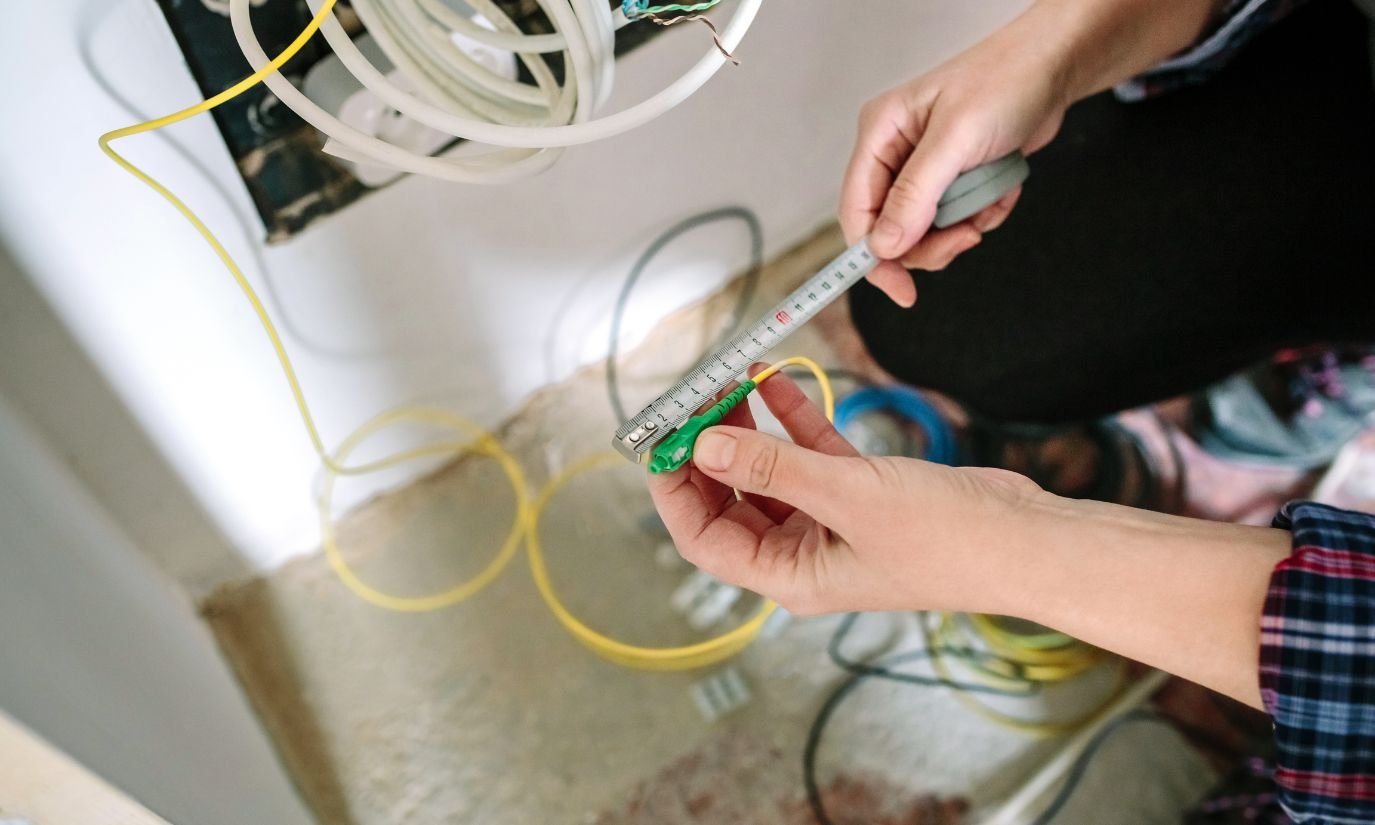
- Identifying Cable Routes:
- Carefully map out the routes where network cables will be installed. Consider the layout of your building or space and the most efficient paths for cables.
- Take into account any obstacles, such as walls, ceilings, or floors, and plan for cable routing around or through these barriers.
- Ensure that cable routes adhere to safety regulations and building codes.

Choosing the Right Cables
- Selecting Ethernet Cables:
- Ethernet cables are a common choice for wired network connections. Different categories of Ethernet cables offer varying levels of performance, so it’s essential to choose the right one:
- Cat5e (Category 5e): Suitable for most residential and small business networks, offering speeds up to 1 Gbps.
- Cat6 (Category 6): Provides higher performance with support for speeds up to 10 Gbps over short distances.
- Cat7 (Category 7): Designed for maximum performance, capable of 10 Gbps speeds over longer distances and superior shielding against interference.
- Ethernet cables are a common choice for wired network connections. Different categories of Ethernet cables offer varying levels of performance, so it’s essential to choose the right one:
- Considering Fiber Optic Cables:
- Fiber optic cables are ideal for high-speed, long-distance data transmission. Consider using fiber optic cables for applications where Ethernet cables may have limitations:
- High Bandwidth: Fiber optics offer virtually unlimited bandwidth, making them suitable for data-intensive applications.
- Long Distances: They excel at transmitting data over long distances without signal degradation.
- Resistance to Interference: Fiber optic cables are resistant to electromagnetic interference.
- Fiber optic cables are ideal for high-speed, long-distance data transmission. Consider using fiber optic cables for applications where Ethernet cables may have limitations:
Budgeting for the Project
- Estimating Costs:
- Calculate the estimated costs of your network cabling installation project. Consider expenses such as:
- Cable Costs: Calculate the cost of the cables based on the type and quantity required.
- Connectors and Accessories: Include the cost of connectors, jacks, patch panels, and other accessories.
- Tools and Equipment: Budget for the tools and equipment needed for cable termination, testing, and installation.
- Labor Costs: If you’re hiring professionals for the installation, factor in labor costs.
- Contingency: Set aside a budget for unexpected expenses or changes in project scope.
- Calculate the estimated costs of your network cabling installation project. Consider expenses such as:
- Allocating Resources:
- Determine the resources required for your project, including personnel, time, and equipment.
- Allocate resources efficiently to ensure a smooth and timely installation.
Professional vs. DIY Installation
When it comes to network cabling installation, you have the option to either hire professional installers or take on the project as a DIY endeavor. This section explores the advantages of professional installation and provides essential tips for those considering a DIY approach:
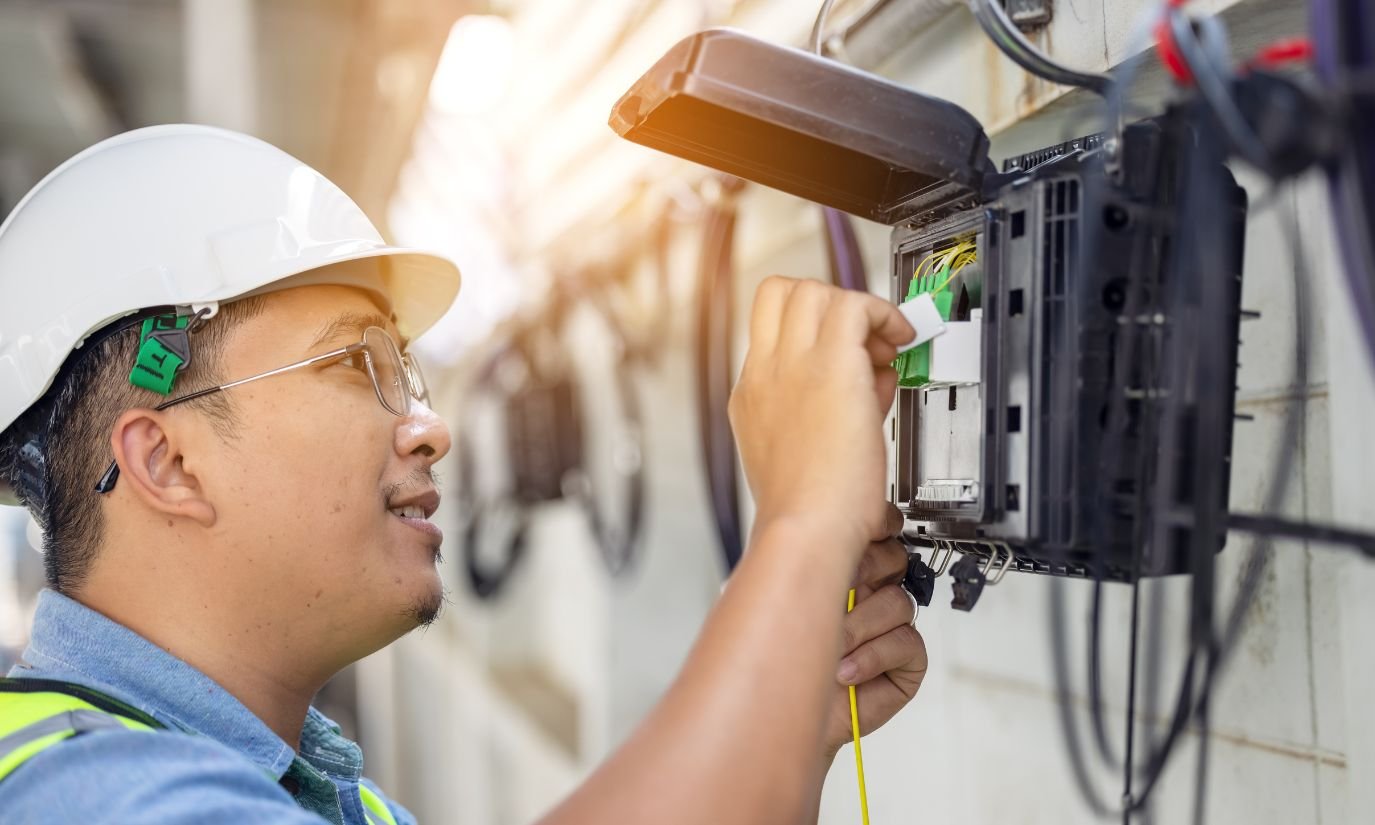
Advantages of Professional Installation
- Expertise and Experience:
- In-Depth Knowledge: Professional installers possess in-depth knowledge of network cabling types, standards, and best practices.
- Problem-Solving: They have experience troubleshooting complex issues, ensuring that your network runs smoothly without disruptions.
- Efficiency: Professionals can complete installations more efficiently due to their familiarity with the process.
- Compliance with Standards:
- Industry Standards: Professional installers adhere to industry standards and regulations, ensuring that your network cabling installation meets all requirements.
- Quality Assurance: Compliance with standards guarantees the reliability and performance of your network.
- Time and Cost Savings:
- Faster Installation: Professionals can complete installations more quickly, minimizing downtime and business disruptions.
- Reduced Risk: Their expertise reduces the risk of errors that could result in costly rework.
- Long-Term Savings: Properly installed network cabling requires fewer maintenance and repair expenses over time.
DIY Installation Tips
- Safety Precautions:
- Power Off: Before beginning any work, ensure that all devices connected to the cables are powered off.
- Electrical Hazards: Be aware of electrical hazards, especially in areas with live electrical wires. Exercise caution, and if needed, consult an electrician.
- Ladder Safety: Use ladders or scaffolding safely when routing cables in high places to prevent falls.
- Protective Gear: Wear appropriate personal protective equipment (PPE), including gloves and safety glasses.
- Tools and Materials Needed:
- Cable Crimper: Invest in a high-quality cable crimper for attaching connectors to cables.
- Cable Tester: A cable tester helps verify connectivity and identify issues before finalizing connections.
- Cable Strippers: Use cable strippers to remove the outer insulation from cables cleanly.
- Punch-Down Tool: A punch-down tool is essential for terminating cables on keystone jacks or patch panels.
- Cable Management Supplies: Purchase cable ties, clips, and trays to organize and secure cables.
- Labeling Equipment: Invest in labeling tools to ensure proper cable identification.
Troubleshooting and Maintenance
Effective troubleshooting and regular maintenance are essential to ensure the reliability and performance of your network cabling installation. In this section, we’ll explore common issues, troubleshooting steps, and best practices for maintenance:
Identifying Common Issues
- Signal Loss:
- Symptoms: Signal loss manifests as slow data transfer speeds, intermittent connectivity, or complete network downtime.
- Causes: Signal loss can result from cable damage, interference, improper termination, or aging cables.
- Connectivity Problems:
- Symptoms: Connectivity problems may include devices unable to connect to the network, frequent disconnections, or inconsistent network access.
- Causes: Connectivity issues can be caused by cable faults, loose connectors, or network configuration errors.

Troubleshooting Steps
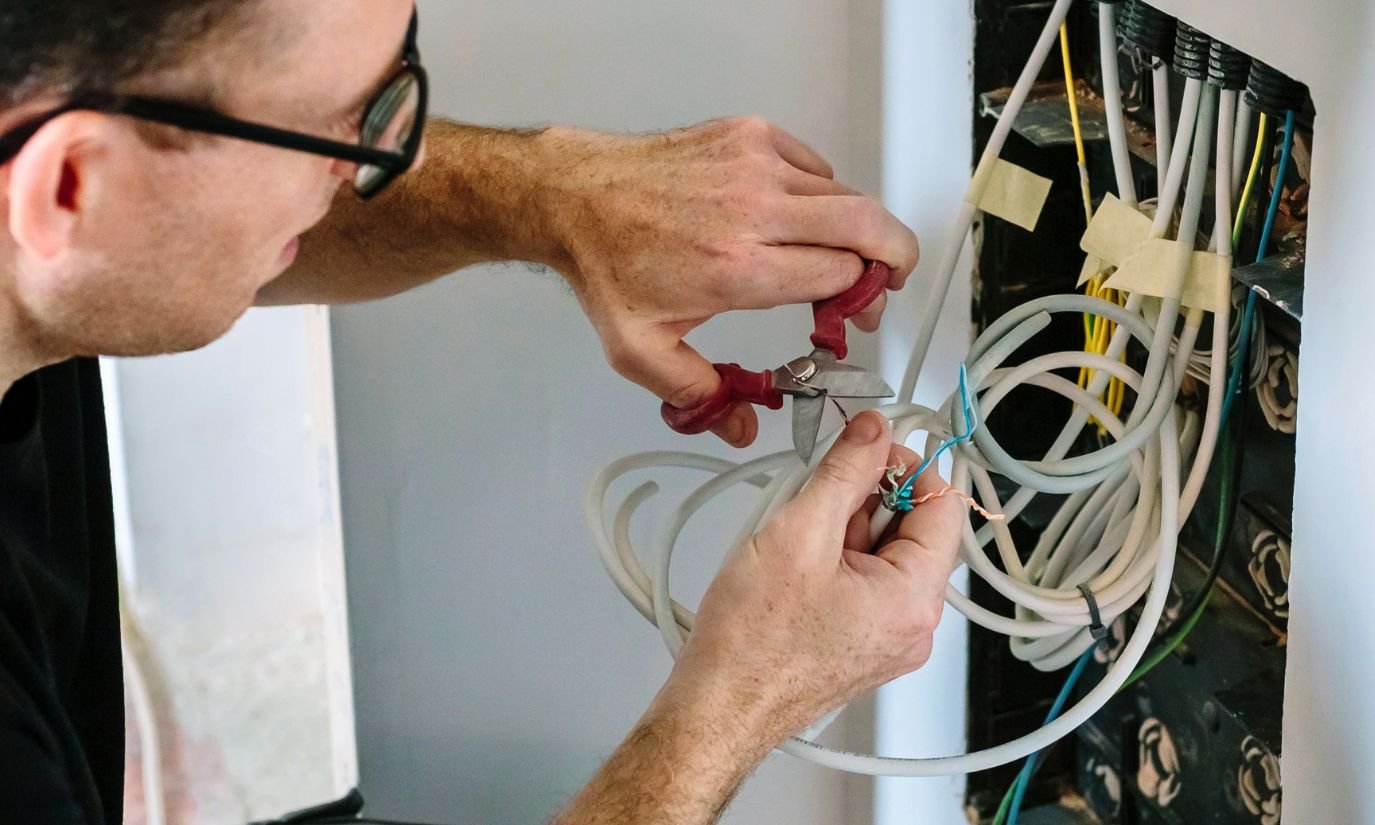
- Cable Testing and Inspection:
- Cable Tester: Use a cable tester to identify cable faults, such as open circuits, short circuits, or crossed wires.
- Visual Inspection: Inspect cables for physical damage, including cuts, kinks, or exposed wires. Check connectors for proper termination.
- Re-crimping: If cable ends are damaged or connectors are loose, re-crimp the connectors to ensure a secure connection.
- Re-termination and Replacement:
- Re-termination: If a cable is found to be faulty due to connector issues, re-terminate the cable ends following wiring standards (T568A or T568B).
- Replacement: If cables are damaged beyond repair or if signal loss persists, replace the affected cables with new ones.
- Testing After Changes: Always test cables after making changes to ensure issues are resolved.
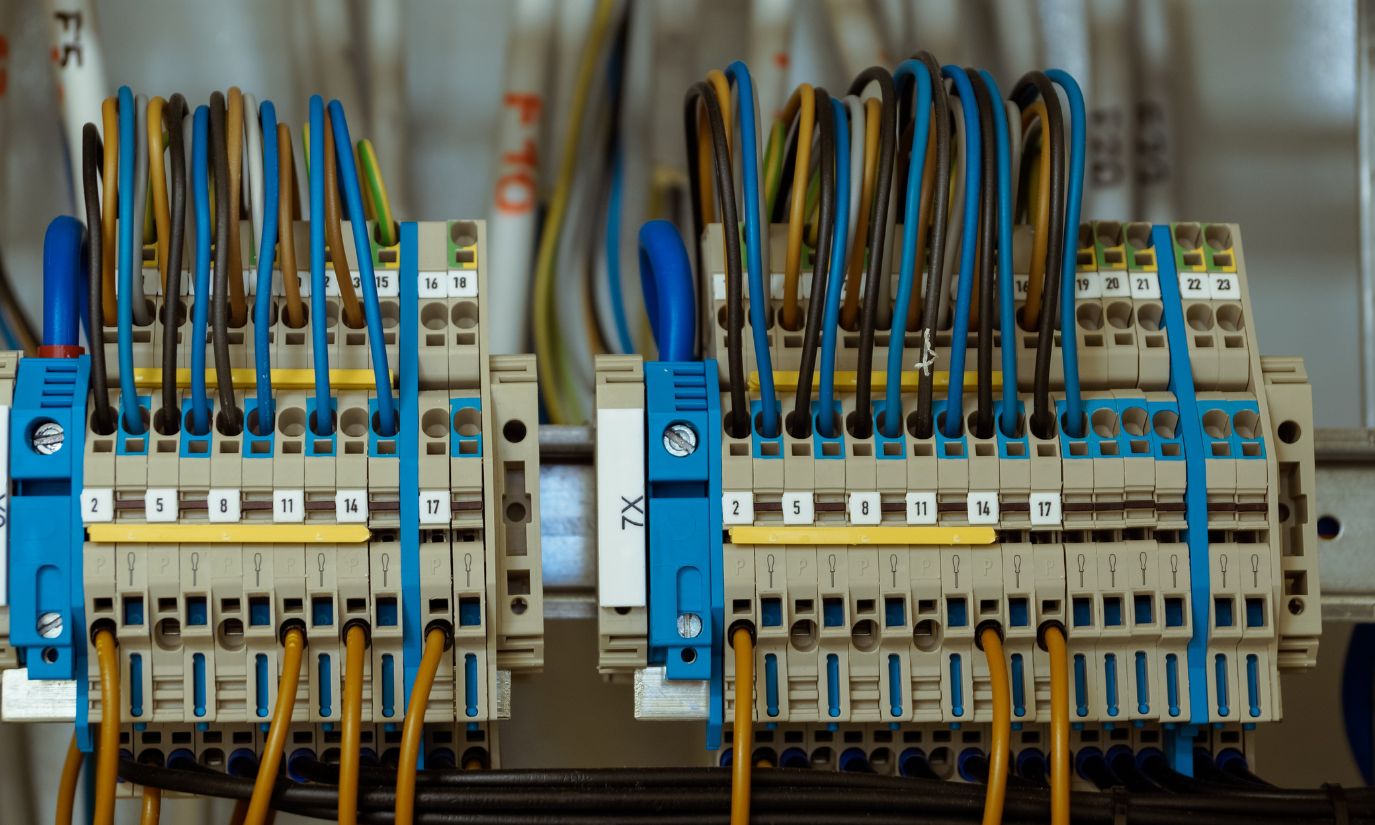
Regular Maintenance Practices
- Inspecting Cables and Connections:
- Periodic Checks: Schedule regular checks to inspect cables and connections for signs of wear or damage.
- Label Maintenance: Ensure that cable labels are intact and legible, simplifying identification during troubleshooting.
- Check Cable Management: Verify that cable bundling and organization are maintained to prevent tangling and interference.
- Cleaning and Protecting Cables:
- Dust and Debris: Keep cables free from dust and debris that can accumulate over time. Use compressed air to clean connectors and cable pathways.
- Protecting Against Moisture: In environments prone to moisture, use moisture-resistant cable solutions and ensure proper sealing of cable entry points.
- Cable Management Accessories: Invest in cable management accessories such as cable trays, raceways, and clips to protect and organize cables.
Regular maintenance practices help identify and address potential issues before they escalate, reducing network downtime and ensuring optimal performance. By understanding common issues, following effective troubleshooting steps, and implementing regular maintenance practices, you can maintain a robust and reliable network cabling infrastructure that meets your connectivity needs.
