

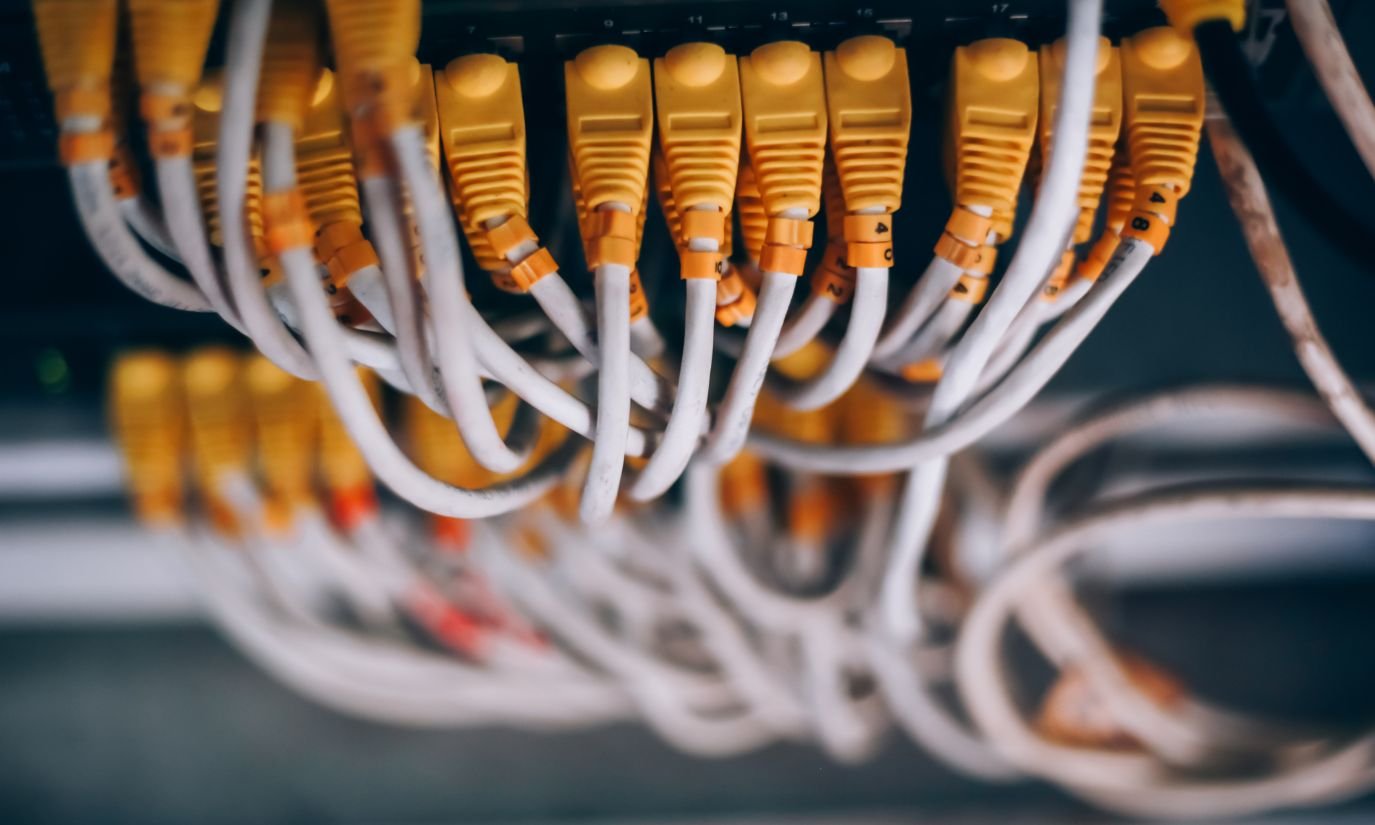
Proper wiring network cable installation is the backbone of modern connectivity. Whether you’re a business seeking seamless communication or a homeowner aiming for a reliable smart home setup, the quality of your network cables is paramount. In this post, we will dive deep into the world of wiring network cables. Our goal is to provide you with invaluable insights and actionable tips on how to plan, install, and maintain network cables effectively. Whether you’re a DIY enthusiast or considering professional assistance, this guide will equip you with the knowledge needed to make informed decisions and ensure your network runs at its best. Stay tuned for expert advice on routing, termination, cable management, troubleshooting, and more. Let’s get started on the path to seamless connectivity!
Understanding Wiring Network Cables
Types of Network Cables
Ethernet Cables: Exploring Cat5e, Cat6, and Cat7 Variants
Ethernet cables are the most common type of network cables used for wired network connections. In this section, we’ll delve into the differences between Cat5e, Cat6, and Cat7 Ethernet cables:
- Cat5e (Category 5e): Cat5e cables are capable of transmitting data at speeds of up to 1 Gbps (Gigabit per second). They are suitable for most home and small business networks.
- Cat6 (Category 6): Cat6 cables offer higher performance and can handle data speeds of up to 10 Gbps over short distances. They are often used in larger networks and for applications requiring higher bandwidth.
- Cat7 (Category 7): Cat7 cables are designed for maximum performance, supporting data speeds of up to 10 Gbps over longer distances. They also provide better shielding against interference, making them ideal for demanding applications.
Fiber Optic Cables: The Future of High-Speed Connectivity
Fiber optic cables are revolutionizing high-speed data transmission. Here, we explore the advantages of fiber optic cables, including:
- Speed: Fiber optics can transmit data at the speed of light, making them incredibly fast.
- Bandwidth: They offer virtually unlimited bandwidth, ideal for data-intensive applications.
- Reliability: Fiber optic cables are resistant to electromagnetic interference and are less prone to signal loss over long distances.
- Applications: Discuss various applications, from internet connections to data centers, where fiber optic cables excel.
Cable Components
Conductors: The Core of Data Transmission
Conductors are the essential components of network cables that facilitate the transmission of data signals. They come in various materials, each with its unique characteristics:
- Material: Network cables can have conductors made of different materials, with copper and aluminum being the most common. Copper conductors are known for their excellent conductivity and are widely used in Ethernet cables. Aluminum conductors are lighter but have higher resistance, making them less common in network cables.
- Twisting: Twisted pair conductors are a key design feature in many network cables, such as Ethernet cables. Twisting helps reduce electromagnetic interference (EMI) and crosstalk by canceling out the effects of external electrical noise.
- Wire Gauge: The wire gauge, or thickness of the conductor, is critical for cable performance. Thicker conductors (lower gauge numbers) offer lower resistance and can transmit data over longer distances without signal loss.
Insulation: Protecting Signals and Ensuring Data Integrity
Insulation serves as a protective layer around the conductors, safeguarding data signals from interference and maintaining data integrity. There are various types of insulation materials used in network cables:
- Types of Insulation: Common insulation materials include PVC (Polyvinyl Chloride), which is cost-effective and widely used, and polyethylene, known for its low dielectric constant, making it suitable for high-frequency applications.
- Shielding: In some network cables, additional shielding layers are added to protect against external interference. Shielding can take the form of metallic foil or braided shielding, and it’s particularly important in environments with high levels of EMI.
- Dielectric Strength: The dielectric strength of insulation is crucial as it determines how well the insulation can withstand electrical stress without breaking down. Higher dielectric strength ensures better insulation performance.
Preparing for Wiring
Before you embark on any wiring project, it’s essential to adequately prepare to ensure a smooth and successful installation. This section covers the crucial steps to take in preparation:
Assessing Wiring Needs
Assessing your wiring needs is the initial step in any wiring project, whether you’re setting up a home network or optimizing your business infrastructure. Here’s how to go about it:
- Define Objectives: Clearly outline the purpose of your wiring project. Are you extending your network, upgrading existing cables, or installing new connections?
- Layout and Design: Plan the layout of your network cables, considering factors such as cable routes, cable lengths, and the location of endpoints (e.g., computers, switches, routers).
- Capacity and Bandwidth: Determine the required capacity and bandwidth for your network. This helps you select the appropriate cable types and configurations.
- Future-Proofing: Think about future needs and expansion. It’s often wise to install more cables than you currently need to accommodate future growth.
- Budget Considerations: Establish a budget for your project, including costs for cables, connectors, tools, and any professional services you might require.

Gathering Necessary Tools and Materials
Having the right tools and materials is essential for a successful wiring project. Ensure you have the following items on hand:
- Network Cables: Select the appropriate cable types (e.g., Cat6 Ethernet cables, fiber optic cables) based on your assessment of wiring needs.
- Connectors: Acquire the necessary connectors for terminating the cables. Common connectors include RJ-45 connectors for Ethernet cables and connectors specific to fiber optics.
- Tools: Invest in quality tools for cable installation, such as cable crimping tools, cable testers, cable strippers, and punch-down tools for keystone jacks.
- Cable Management Supplies: Cable ties, cable clips, and cable trays are essential for organizing and securing cables.
- Safety Gear: Ensure you have safety gear such as gloves, safety glasses, and appropriate clothing for working in different environments.
- Documentation: Prepare labels and documentation for labeling cables and documenting cable routes and connections.
Safety Precautions
Working with network cables involves some potential risks, so it’s crucial to prioritize safety. Here are some safety precautions to follow:
- Power Off: Ensure that all devices connected to the cables are powered off before making any connections or changes.
- Electrical Hazards: Be aware of electrical hazards, especially when working in areas with live electrical wires. Exercise caution and, if necessary, work with a qualified electrician.
- Ladder Safety: When routing cables in high places, use ladders or scaffolding with care to prevent falls.
- Proper Ventilation: In enclosed spaces, ensure proper ventilation to avoid exposure to harmful fumes from cable insulation materials.
- Labeling and Documentation: Label all cables clearly, both at the ends and along their routes. Keep detailed documentation of cable connections.
- Protective Gear: Wear appropriate personal protective equipment, including gloves and safety glasses, to prevent injuries.
Step-by-Step Wiring Guide
Once you’ve assessed your needs, gathered the necessary tools, and taken safety precautions, it’s time to dive into the actual wiring process. This step-by-step guide will walk you through each crucial aspect of wiring network cables:
Cable Routing
- Choosing the Right Path: The path you choose for your network cables can significantly impact performance and aesthetics. Consider the following when selecting a route:
- Shortest Path: Opt for the shortest route between endpoints to minimize cable length, which reduces signal loss.
- Avoiding Obstacles: Avoid running cables near sources of interference like power cables, fluorescent lights, and large machinery.
- Ceiling or Wall Routes: Decide whether you’ll route cables through ceilings, walls, or surface-mounted conduits, depending on your environment.
- Avoiding Interference: Interference can degrade signal quality. Implement these strategies to minimize interference:
- Use Shielded Cables: In areas with high electromagnetic interference (EMI), consider using shielded cables.
- Proper Separation: Maintain sufficient distance between network cables and power cables to reduce EMI.
- Grounding: Ensure that cables are properly grounded to dissipate unwanted electrical currents.

Cable Termination
- Wiring Standards (T568A, T568B): Proper cable termination is crucial for reliable connections. Follow either the T568A or T568B wiring standards, ensuring consistency throughout your installation. Here’s a brief overview of both standards:
- T568A: This standard is commonly used in residential installations, with green and orange pairs swapped.
- T568B: The T568B standard is prevalent in commercial and industrial setups, maintaining the standard order of cable pairs.
- Cable Testing and Verification: Before completing your terminations, use a cable tester to verify connectivity and continuity. Ensure that each cable is properly crimped and that there are no crossed or shorted wires.
Cable Management
- Cable Bundling and Organization: Neat and organized cable management not only looks professional but also makes future maintenance easier. Consider these practices:
- Velcro Straps or Cable Ties: Secure cables into organized bundles to prevent tangling.
- Cable Channels or Raceways: Use cable channels or raceways to hide and protect cables on walls or ceilings.
- Spacing: Allow some slack in cables to accommodate movement and changes.
- Cable Labels: Proper labeling is essential for easy identification and troubleshooting. Label both ends of each cable with clear, unique identifiers, making it simpler to trace and manage connections.
Grounding and Shielding (if applicable)
In situations where grounding and shielding are necessary, take the following steps:
- Grounding: Ensure that all grounding connections are securely in place and compliant with local electrical codes. Proper grounding helps dissipate electrical surges and protects against voltage differences.
- Shielding: If using shielded cables, make sure the shielding is properly terminated and grounded at both ends. This enhances the cables’ resistance to electromagnetic interference.
By following these step-by-step instructions for cable routing, termination, management, and, when applicable, grounding and shielding, you’ll achieve a well-organized and reliable network cable installation that meets your connectivity needs.
Now, if you’re looking for expert assistance with your wiring network cable needs, don’t hesitate to reach out to NT Security USA. With over a decade of experience in low voltage and cabling services, we are your trusted partner for all your connectivity requirements.
For further assistance or inquiries, contact us today. Our dedicated team of professionals is ready to provide customized solutions that meet your unique home or business needs. Let’s connect for a seamless and efficient network installation. Your satisfaction is our priority.
Thank you for choosing NT Security USA as your partner in connectivity solutions.
